 Reading Time: 5 minutes
By Sarah Bengochea
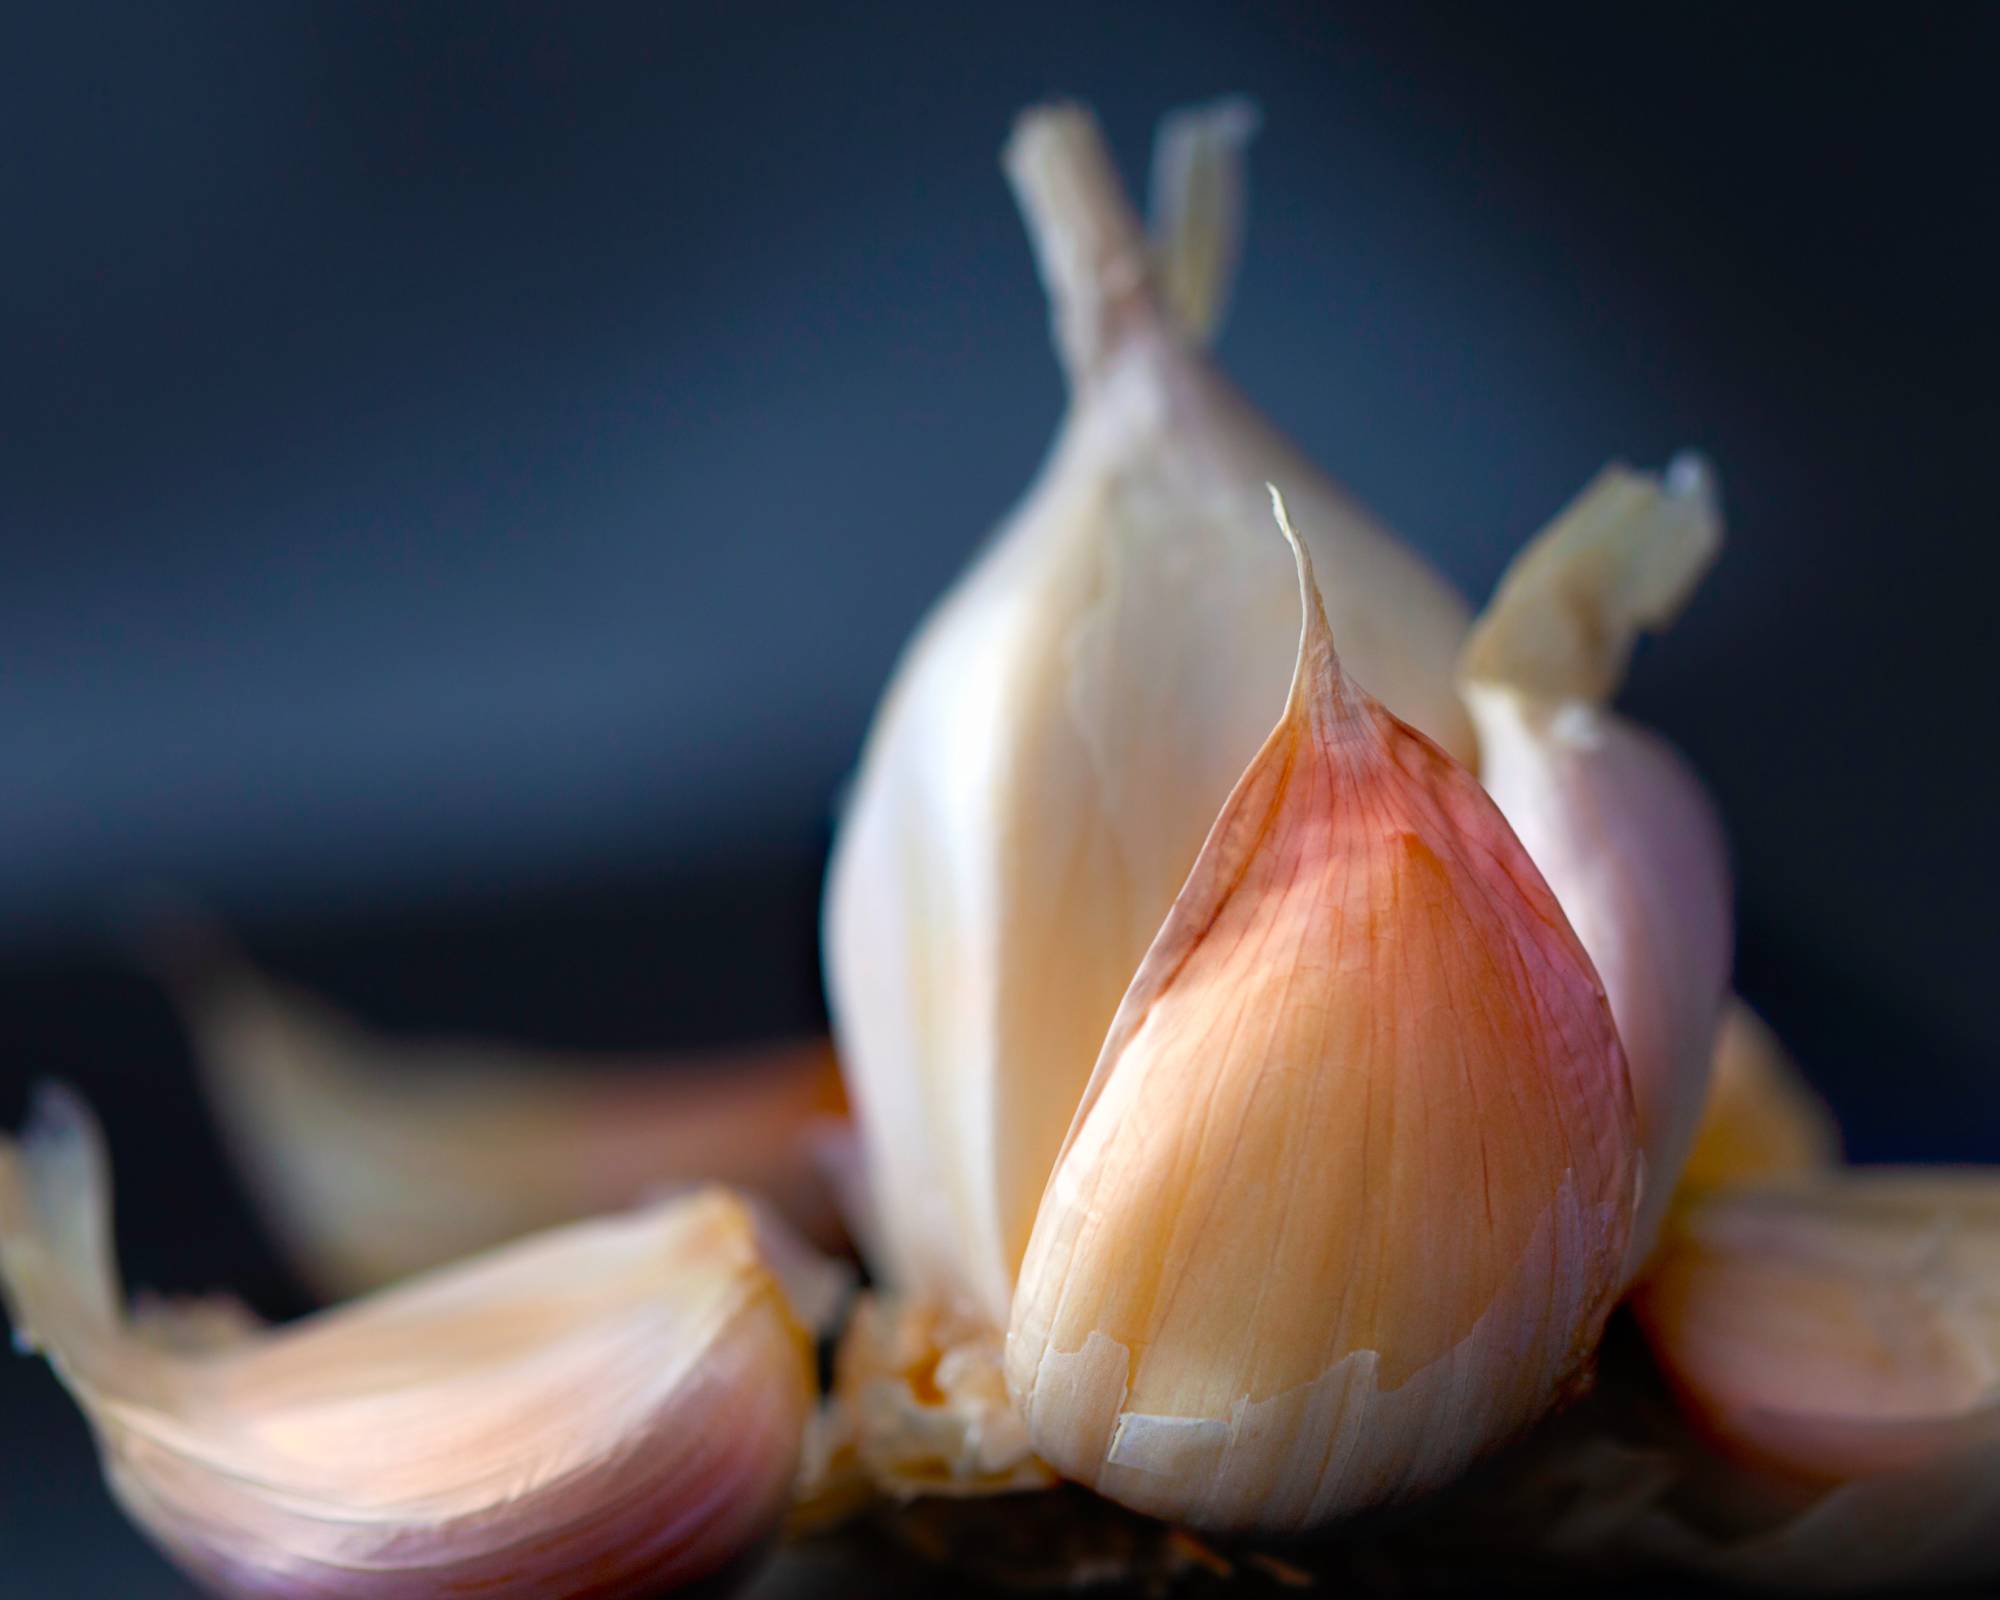
Who loves garlic fermented garlic??? Meeeeeeeeee… I don’t think there is a day I go without eating garlic in some shape or form. It’s the miracle of the kitchen, I love it raw in salad dressings, roasted and squidged into fluffy sweet potatoes, chopped and sprinkled over roasted veg, stuffed into a chicken, and yes you guessed it pickled – or should I say fermented. Fermented garlic is a healthy pickling preservation technique, nourishing tradition let’s, and a million times better from modern day vinegar pickling.
If you haven’t had the pleasure of a fermented clove, then you’re in for a treat. Admittedly if you’re not a garlic junkie then fermented garlic is not the recipe for you. This post is all about celebrating the pungency and probiotic potency of fermented garlic ¹. That being said, fermented garlic on the taste buds is actually milder, smoother more mellow than raw garlic, the fermentation process has removed some of its sting and made it a little more digestible too. However, there is no getting away from its intense garlic aroma. In order to maintain the probiotic and vitamin profile², I won’t be suggesting that you throw these babies into your bolognese and hide them among the tomatoes, as that will destroy some of the health benefits.
Once your cloves are fermented and nicely pickled, you can use them at will in salads, in dips and dressings such as pesto, hummus, baba ganoush, romesco & flavoured oils; grated on top of warmed potatoes, grilled meats, soups and stir fry’s, the possibilities are endless.
Why Ferment Your Garlic?
In this post, I won’t go into all the in’s and out’s of fermenting, that’s for another day, but what I can tell you is the process of fermenting any vegetables is one of the oldest forms of food technology that exists in the world. It’s a 7,000 yr old method³! It’s also a low-cost way of preserving the quality and safety of foods, you’re effectively controlling the decay enabling good bacteria to flourish and act as a natural preservative. The complex compounds found in foods are broken down into simpler, more easily digestible enzymes, friendly bacteria, and vitamins, which is fantastic news for your gut and your overall health. I strongly suggest you read Faye’s post explaining the connection between fermented foods and probiotics, the benefits and importance of incorporating probiotic foods into your diet and how to go about doing it.
Let’s Get Fermenting & Friendly Bacteria Building
My first bit of advice is don’t be scared of bacteria! We’re so used to seeing adverts promoting bacteria-killing sprays, that the collective consciousness of society has become fearful of all forms of bacteria. Did you know your gut is teeming with bacteria, and that the diversity of your microbiome (your gut) is linked to your health and ability to lose weight?
So let’s be open to dabbling in a little bacterial chemistry.
Fermentation is a simple mixture of veggies and salt, of course, you can add in flavour using spices, herbs, fruit, etc. There are various methods to ferment, today we’re going to focus on the brining method. A brine is a simple combination of water and salt. Here is where the maths are important!
The Salt
Too little salt mould can grow and the veggies can lose their crispness, too much salt and you may kill off the bacterial activity and stop the fermentation process. Of course, like with most things in life, a little experimentation doesn’t’ hurt.
However in general terms, if you stay within the range of 1 – 3 tablespoons of salt per quart / 1 litre of water your fermented produce should work just fine! That’s around a 2-3% salinity overall.
2% Brine = 19gr or 1tbsp of salt
3% Brine = 24gr or 1tbsp + 1tsp of salt
The Temperature
Room temperature is usually the perfect environment to ferment, between 15 – 22 C. However if you’re like me and have very hot Summers, you may want to consider fermenting outside of the hot season, or only ferment your veggies for a few days rather than a few weeks! If you’re friendly with the Eskimos and live in a cold environment, your ferment will probably take a little longer – so this is where a little experimentation comes in. Just give it a go I’d say, most of the time, it will turn out just fine.
Ingredients
- 3 Heads of garlic
- Filtered water
- Non-iodized salt (Kosher, Sea Salt)
- Pick a jar that by eye you think the garlic cloves will fit into.
- Create a 2% brine solution by dissolving the salt in the water. To make life easy, follow the equation above 19gr of salt per 1 litre of water. You won’t need all that water, but on this occasion let’s just make life simple, especially if this is your first time fermenting. If your salt doesn’t dissolve quickly, very gently warm a little of the water with the salt, once dissolved add back to the leftover water and allow to cool to room temperature.
- Peel the cloves, I tend to leave the very last layer of skin intact because it’s quite difficult to remove it without damaging the garlic clove.
- Fill your jar with the garlic cloves, and cover with the brine solution. You need to leave at least 2.5cm of space at the top of the jar. That’s for the gas bubbles!!
- You’ll need to make sure that the cloves stay submerged in the brine, so you can use any old weight (baking weights, rocks, marbles tied in a cheesecloth – just give these elements a boil for 20 mins to kill off any competing or harmful bacteria – or a simple folded cabbage leaf should work.
- Close the jar loosely, and leave on your kitchen countertop for between 4 – 6 weeks ( less if you’re in warmer climates), preferably away from direct sunlight. It may take a few days for your ferment to start working, you’ll be able to tell as small bubbles will appear.
- Open the jar once a day to allow the bubbles to escape.
- After about 3 weeks, try one of your cloves, over time their pungency should mellow, and almost take on a roasted garlic flavour. Between the 3rd and 6th week, I’d bite into a clove, and when you feel you’re happy with the flavour and crispness, remove the weight, tighten the jar and pop into your refrigerator. The coolness will slow the ferment right down, you can keep your pickled garlic in there for up to a year!
Top Tip
When you’ve finished eating your garlic cloves, don’t discard the liquid! It’s teeming with friendly bacteria and flavour! It’s also a great starter liquid to kick start your next batch of ferment! Simply seal the jar, pop it back in the refrigerator, and leave until you’re ready to use it. The liquid makes a great addition to salad dressings – pop a couple of tablespoons to your oil mixture, it adds a lovely garlicky aroma and a boost of beautiful bacteria.