 Reading Time: 4 minutes
By Sarah Bengochea
Creamy, delicious, gorgeous, versatile, health promoting yumminess. I love nearly all of the nut milks out there, my fav’s are brazil nut, hazelnut, pecan and sesame (not officially a nut), not forgetting the classic almond milk. What’s amazing about dairy alternative milks is depending on the nut you use, they offer you a completely different flavour profile…. Whereas your standard dairy milk is one flavour, and one flavour only. This is where nut milks become highly versatile if you’re looking to get a little flashy in the kitchen.
Commercially made diary alternative nut milks are great for emergencies, or if you’re on the run and need a splash of something in your tea, but I highly recommend making your own. Why? Well:
- Firstly they are fresher, creamier and more voluptuous by nature.
- Secondly, the nuts are activated. By soaking nuts in a little water and Himalayan salt, you’re increasing its nutrient profile and breaking down any problematic compounds helping their digestibility.
- Thirdly, your homemade version is free from additives such as thickeners, gums, preservatives, emulsifiers, etc.
Of course without all those preservatives and additives your homemade nut milk won’t last 10 days in the fridge, however, rest assured they freeze well. Just decant into smaller jars, and freeze! Obviously if you’re using glass jars in the freezer, you’ll want to take a little extra care, as glass and cold can lead to breakages. If you have BPA free plastic containers, then they would be a better option! I don’t have any here, so I use glass jars, just remember to leave a decent gap at the top of the jar, when liquids freeze they expand. To defrost, pop the jar or container into the fridge, if using glass don’t run it under hot water, it will definitely crack! Once defrosted, give it a good shake, or better still, run it in the blender for 10 seconds so that you have a homogenous mixture.
Choosing Your Nuts
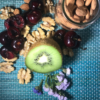
The quality of your nut milk will be determined by the quality of the nuts you buy. So if you have some almonds hidden at the back of the cupboard sine 2007, my suggestion to you would be throw them to the birds and buy some fresh ones. When buying your nuts, look for a well sealed bag, or if buying loose, ask the seller if you can try one first to check for freshness. When you bite into a nut it should have good bite to it, have a fresh taste, you should easily be able to tell if its rancid, it has that old tasting aroma, you know that taste when you’ve been to your grandmother’s house, and she has an old packet of biscuits in the cupboard, you take a bite and immediately your scrapping it off your tongue. Of course, organic nuts are preferable, but they are not always available or affordable! So go with the best you can get at the time! I buy depending on the time of year and price. So if hazelnuts are cheaper than almonds and in good shape, they win.
Storing Your Nuts
To save you time and money, always buy in bulk! Nuts keep extremely well in the freezer, because of their fat content they don’t freeze solid and can be used almost immediately. I always store all of my nuts and seeds in the freezer, especially during the summer months. I’ve even got a box of hazelnuts in my freezer now that have been there for 12 months, and honestly they are in perfect condition. I pull a couple of cups out every week, and they are delicious. Just make sure they are in a solid container with a tight fitting lid, you don’t want any pesky ice crystals getting in there.
Making Your Nut Milk
If you’re new to making nut milks, I’d encourage you to go with almond, hazelnut &/or coconut at first. Brazil, cashews and pecans have a stronger taste, so good to start on the slightly tamer versions. Of course, if there is a nut you really don’t like, then don’t make it in the beginning.
You will need a good blender, a clean muslin cloth, or a nut milk bag. I use a dedicated tea towel, so i’d say go with what works, or what is at hand, just make sure it’s super clean.
What’s amazing about making any of these milks, the recipe is simple! It is 1 part nuts to 4 parts water! I always measure in cups because it’s easier, I use my favourite christmas mug, no need to have fancy measures here!
If you’re transitioning from dairy milk to nut milk, you’ll notice a considerable difference in sweetness, you may have never realised that dairy milk is sweet due to the lactose naturally found in milk. While I’d encourage you to enjoy the milk as it is, if the jump is a little too much in the beginning, feel free to add 1 – 2 Medjool dates, 1 tbsp of honey or 1 tbsp of maple syrup into stage 3 of the method below.
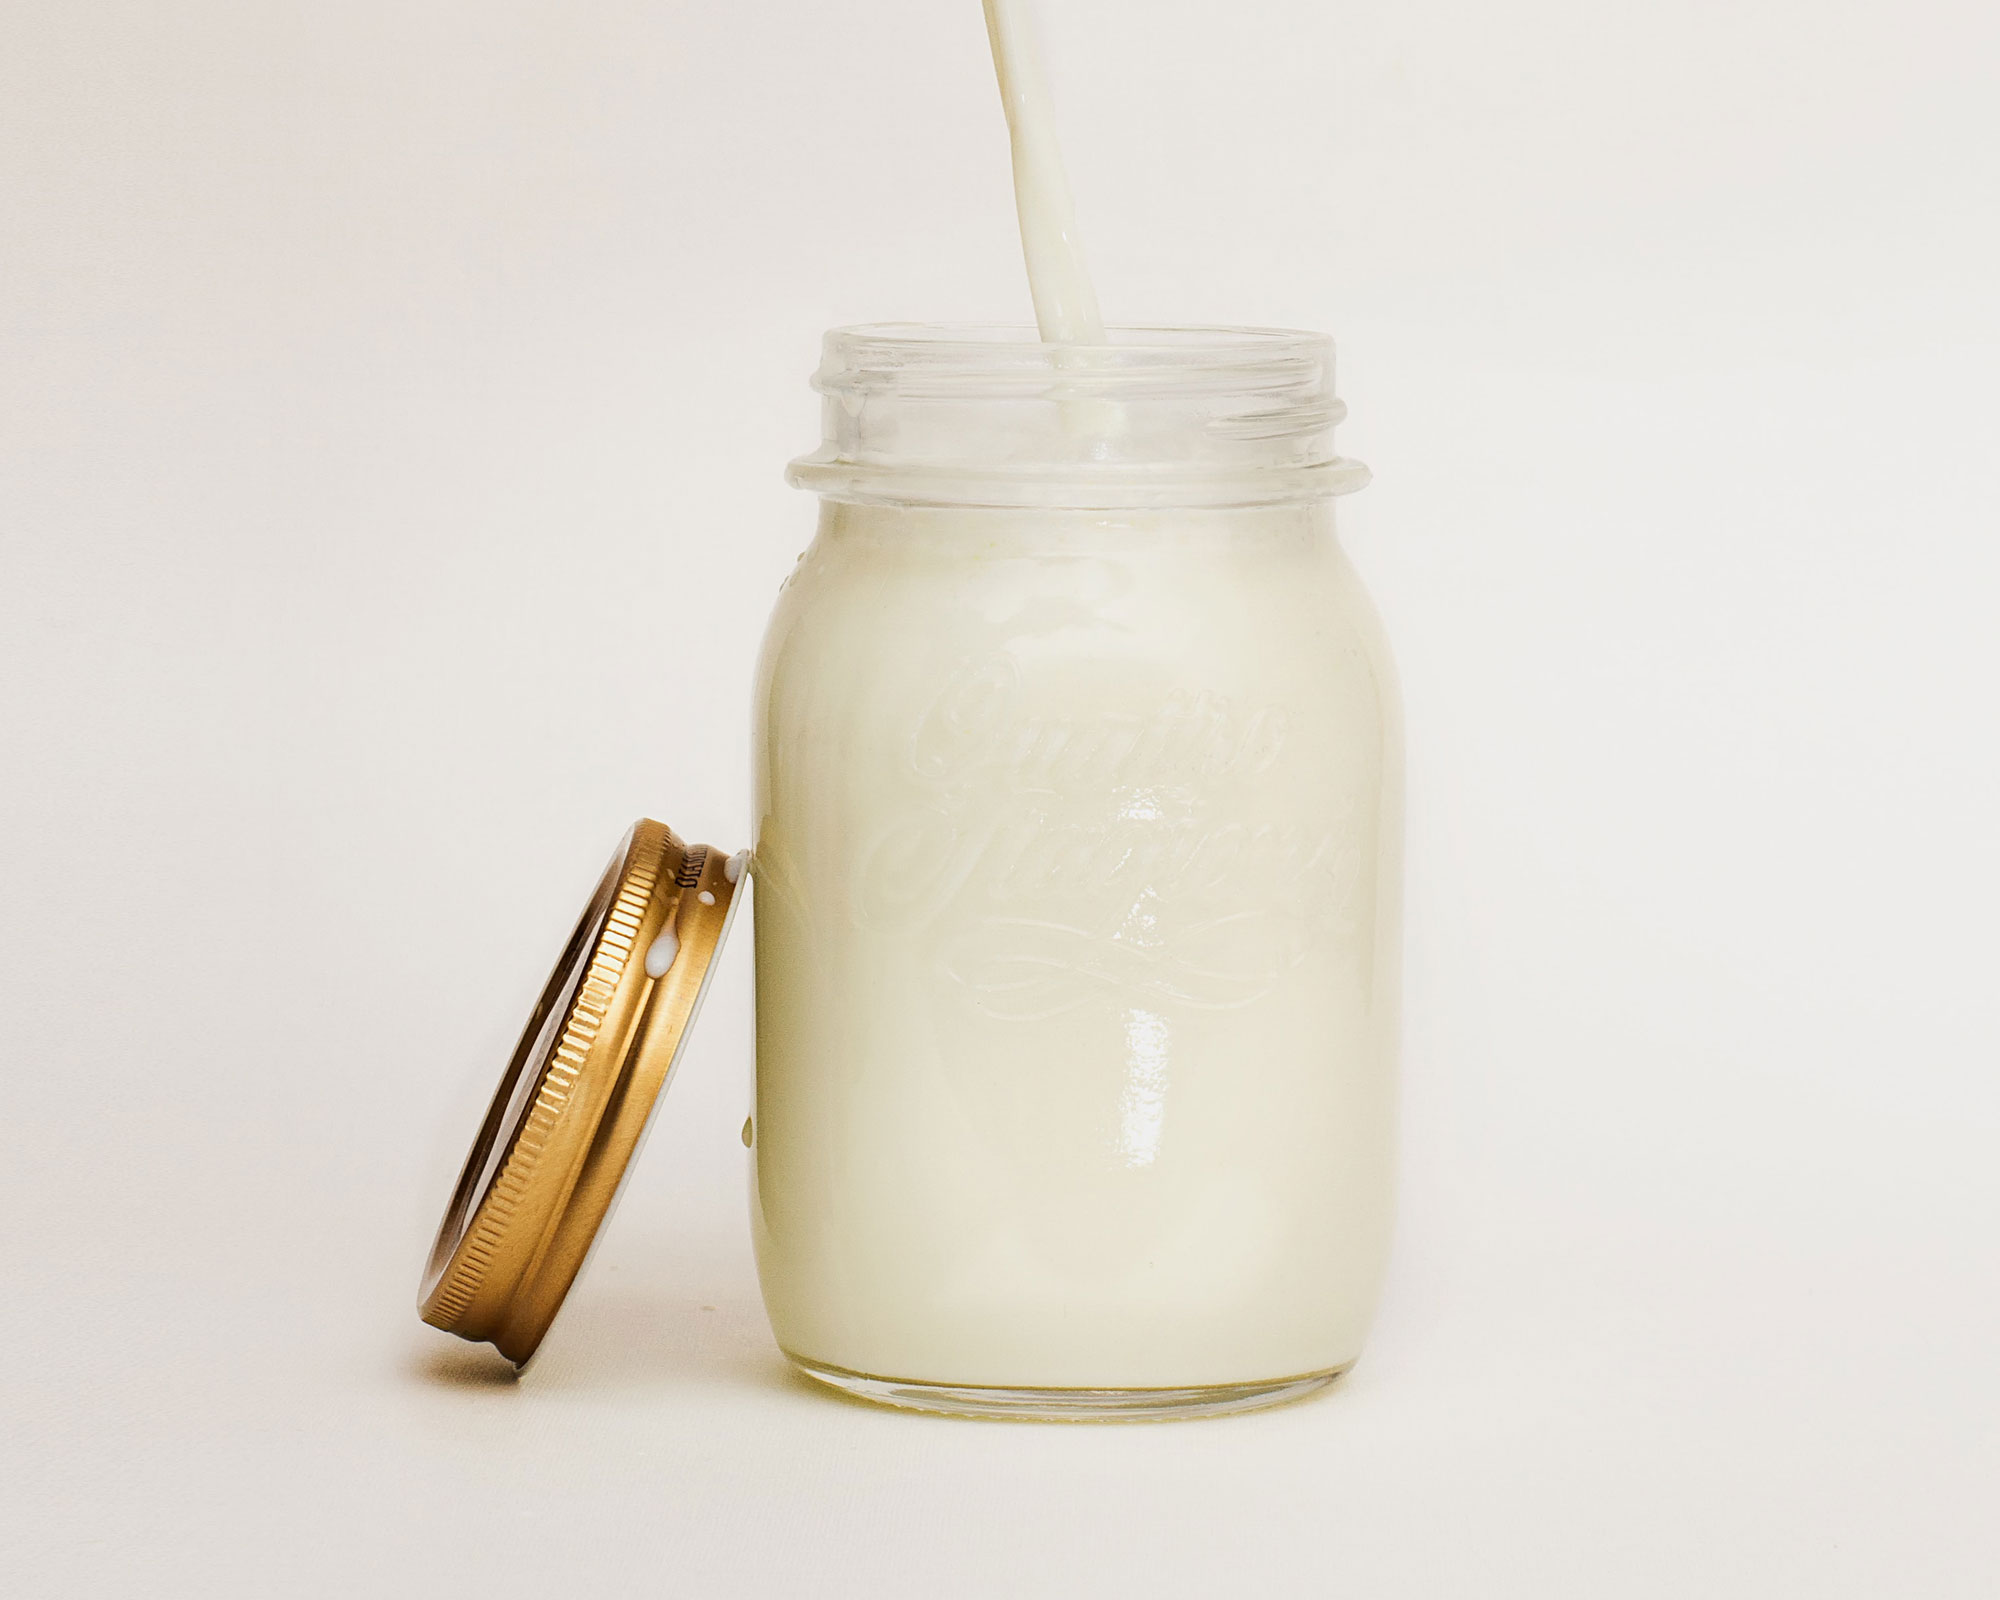
Nut Milks
Make your own nut milks at home with this simple, full-proof recipe. The hardest part – choosing your favourite nut – almond, brazil, hazelnut…
- 1 Cup Nuts (Your choice on the nut)
- 4 Cups Filtered Water
- 1/2 Tsp Himalayan Salt
- 1-2 Medjool Dates (Or 1tbsp of Honey / Maple Syrup )
- Pop your nuts into a bowl, cover with filtered fresh water and ½ tsp of salt. Give them a good stir around, cover and pop in the fridge overnight or for at least 4 – 6 hours.
- The next day, pour the soaking water away, give your nuts a good rinse under running water for 30 seconds or so.
- Pop the nuts into a blender, add 4 cups of filtered water, make sure to use the same measuring cup you used to measure the nuts, and whiz. A high speed blender is ideal, but if you don’t have one, it’s really no big deal, any blender will do, you’ll just need to blend for a little longer. Blend for about 2 minutes if using a high speed blender. Give the milk a check, you’re looking to make sure there are no lumps and bits of nut left, blend for 30 seconds more or until you want a smooth creamy milk. If using a normal kitchen blender, you may need to blend for 3 – 4 minutes, keep checking and blending until you get a smooth consistency.
- Pass the milk through a muslin cloth, nut milk bag or super clean tea towel, you’ll need to bunch the ends together and squeeze tightly. You will be left with the nut pulp!
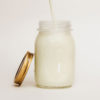
- Preferably store in a glass bottle with a lid, old jam jars work a treat too! If you think you won’t use all of the mixture in the next 3 – 4 days, simply freeze portions of it.