 Reading Time: 5 minutes
By Sarah
If you’ve been enjoying Course 1 – Think Your Way to Health, you may already know that I’m a little fanatical about making healthy ice cream. Funnily enough, I’ve never been a huge ice cream fan, as I’ve always found them to be too sweet, however, as I started to experiment with healthier less sweet versions, I soon discovered that I had awoken the ice cream monster inside.
Being honest, I’ve been around the bush and over the mountain a few times to get the perfect recipe. Trust me, it’s not easy to make a decent healthy ice cream. If you think about the traditional ingredients; milk, cream, eggs, sugar – they provide the perfect satisfying combination of fat for creaminess and sugar for sweetness and anti-freezing components. And of course, as you start to play with and replace those traditional ingredients, well disaster can often strike.
When it comes to ice cream we have two avenues to go down – with eggs, or without eggs! Personally I like both options, however, using egg yolks offers you a creamier texture overall, and the final product seems to fare better in the freezer. Above and beyond the eggs, my ice cream recipes are dairy, refined sugar and gluten free. As you can imagine I have many recipes to share with you, but today I wanted to give you my recipe that you can try at home – this time with eggs!
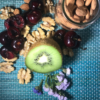
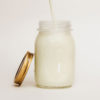
When making healthy ice cream, I highly recommend that you make your own nut milk. It’s super simple I promise – literally, it’s nuts and water then Soak.Blend.Strain – y viola. The shop bought versions have a much higher water content, which results in a thinner, more watery ice cream, which will most likely freeze solid. They can also have stabilisers, emulsifiers and preservatives depending on the brand and are often heat treated for longer life. When you make it at home you get the full nutritional benefit of the nut and nothing but the nut – but more on this in my post all about nut milks.
*TOP TIP 1* – When making your milk double or triple the recipe provided, you’ve then got milk for the week for other recipes. It freezes really well too, so if you’ve got a huge batch and you think there is no way you’re going to use it all, store and freeze. I usually soak a large batch of nuts on a Saturday night, and then make my weekly batch of milk on a Sunday morning as I’m preparing coffee.
*TOP TIP 2* – When buying nuts, it’s preferable to buy them whole with their skins on. Once you start to chop them up, you’re reducing their shelf life as you’re exposing their precious flesh to the elements. As nuts are high in good fat when unprotected they can go rancid – which is definitely not what you want!
Check out my nut milk blog for more top tips on how to look after your nuts and your milk.
Ideally, when creating a healthy ice cream you’ll have your very own ice cream churner, if you don’t, it’s really not the end of the world, below I have some top tips on how to get around this!
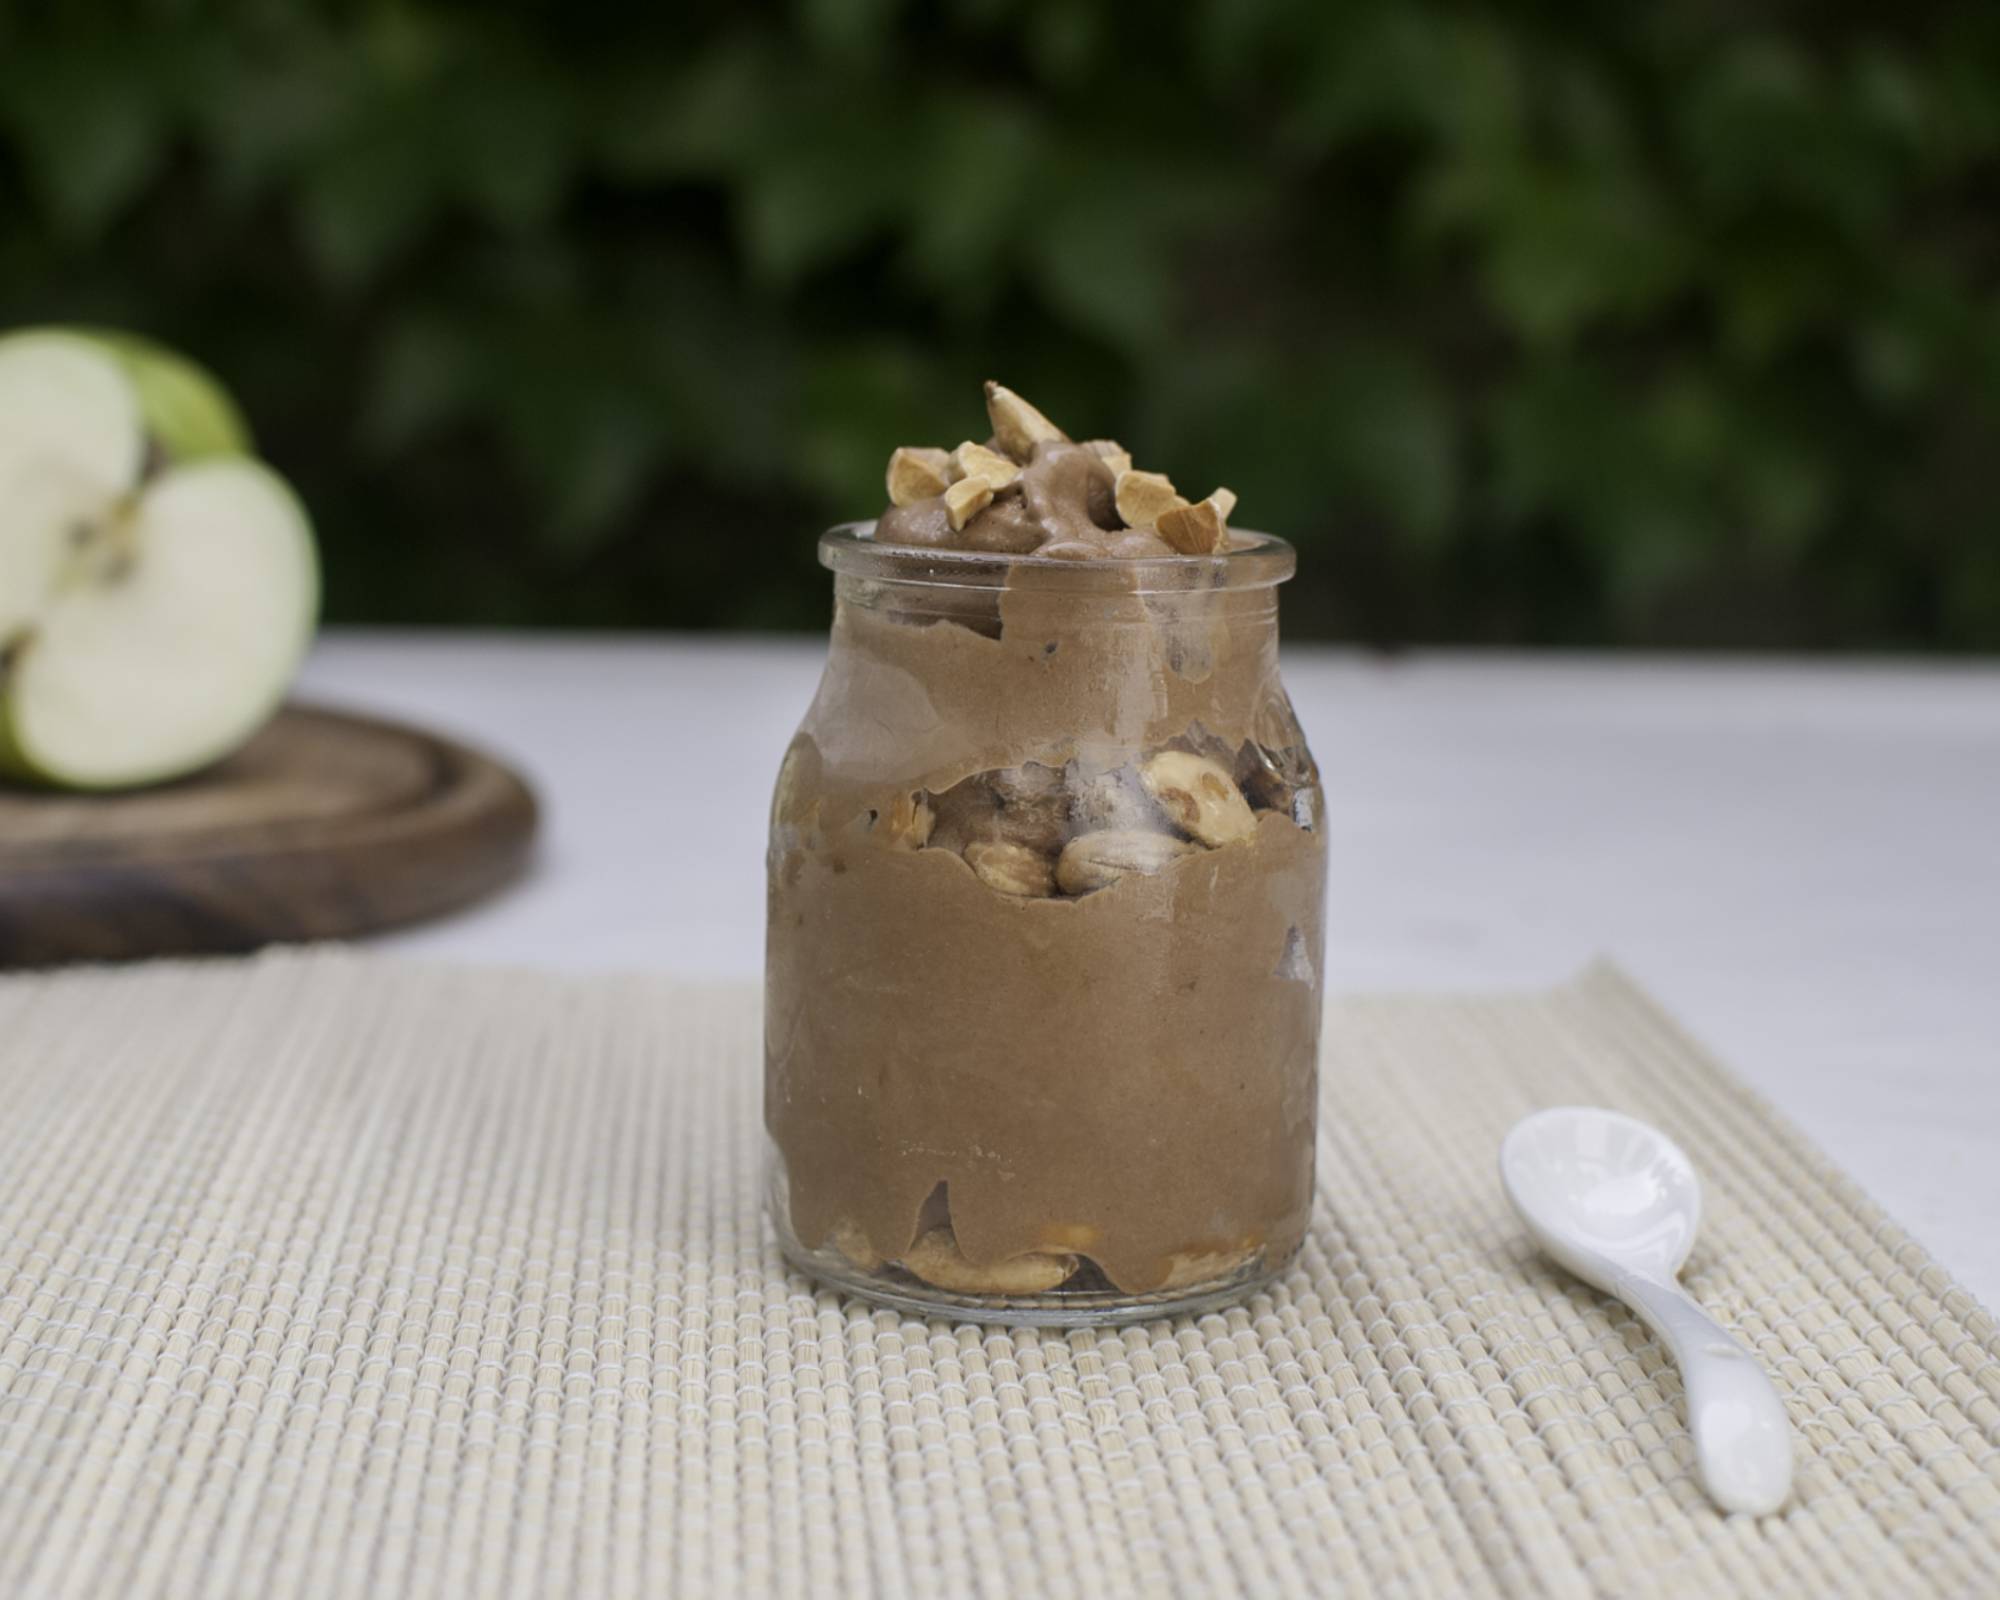
To serve you can be inventive as you like, personally I like it on its own. To ramp up the nutrition I sometimes like to add a few superfoods such as raw cacao nibs, a sprinkling of maca powder, bee pollen, and fresh raspberries!
When you take the time to make recipes like this you’ll reap the rewards – health nutrition and happiness wise. When we say you can still enjoy your favourite foods, you really can!! You just need to spend a tiny bit of time in the kitchen and viola – no restriction, no boringness, just deliciousness! We have a recipe book in the making – if you want to be first on the list to receive it and see more recipes like this one, make sure you sign up to our monthly newsletter and we’ll keep you posted.
If you have any questions on how to make this recipe, pop a comment below and we’ll get back to you.
Much summer love!
Serves 4 – 5
Ingredients:
- 6 Cups of homemade hazelnut milk*
- ⅔ Cup of coconut sugar
- 6 Egg yolks
- 1 Vanilla Pod or a tbsp vanilla extract**
- ¼ Cup of raw chocolate powder
- ½ Cup of roasted hazelnuts
Method:
1. If using the vanilla pod, slice it open, scrape the seeds out into a pan, add the pod, milk and chocolate powder a warm over a low heat. At first, the chocolate powder won’t mix well, but as it heats, give it a whisk and it will turn into beautiful silky chocolate milk. Make sure you don’t let the mixture boil, you want to bring it to simmering point, then take it off the heat.
2. While the milk is heating, whisk your egg yolks using an electric mixer until they become light and pale. This should take about 2 – 3 minutes. Keep the mixer running and then slowly incorporate the coconut sugar. This will take you a further 2 – 3 minutes. You’re looking for a ribbony texture.
3. Once your milk has cooled slightly (stick your finger in the mixture, if it feels like a pleasant warmth and not on the side of burning you’re good to go, don’t let the mixture go completely cold, as the warmth from the milk slowly cooks the eggs and helps with the transition to the pan) turn your mixer back on to a medium to slow speed and start to incorporate a small amount of the warmed milk. Keep incorporating the milk bit by bit until you have a homogenous creamy mixture.
4. Turn the mixture back into the pan, and return to a low heat. Using a soft spatula, constantly stir the mixture in the form of an 8 until it has thickened. This may take up to 10 – 15 minutes – be patient! If you stop stirring, you run a very high risk of creating scrambled eggs, and/or splitting the mixture. Take this moment to practice a little mindfulness, just focus on the delicious mixture in front of you, stirring slowly, relaxing and enjoying what you are creating.
5. Once thickened, incorporate the vanilla extract (if you haven’t used the vanilla pod), pop into a glass heatproof bowl and allow to cool.
6. Cover with cling film and refrigerate for a minimum of 4 hours.
7. While you’re waiting for the mixture to cool properly, carefully roast your hazelnuts in the oven, until golden brown (170 C for around 15 minutes). They burn quickly so keep an eye out. Once toasted and cooled, roughly chop them and reserve for later.
8. If you have an ice cream maker or churner, now is the time to pop it in and churn until frozen. 2 minutes before the end, incorporate your chopped hazelnuts, and allow the machine to disperse them throughout. If you don’t have an ice cream maker, don’t panic, simply turn the cold mixture into a shallow Tupperware box and freeze. When you’re ready to serve, remove the box from the freezer 20 – 25 minutes beforehand, spoon the mixture into a high-speed food blender or mixer, and whizz for 30 seconds to a minute. All you want to do is break up the ice crystals and achieve a creamy texture! Once you have the right texture, incorporate the chopped nuts by hand, and voila you’re ready to serve!
* If you don’t have hazelnut milk, almond or coconut will work just as well. Just the taste will be a little different. Coconut milk works really well because of the higher fat content – even creamier!
**I prefer to use homemade vanilla extract. I make it by popping used vanilla beans into a small jar, and filling it with Vodka, giving it a shake every day for about two weeks. Then simply leave it alone until you’re ready to use it. Every time you use a vanilla bean, simply pop it into the jar and top up with Vodka as and when you need to. – Viola! NO artificial flavourings, essences or preservatives here!
References:
Tree Nut Council Nutrition Council Research and Education Foundation.